Risk Template
Risk Template Imports
Overview
The feature allows users to import risk templates directly through file upload, simplifying the process of adding multiple templates at once. This ensures efficient and accurate data entry, reducing manual effort while maintaining consistency across templates. Users can easily map the imported data to the required fields, streamlining the setup of risk management configurations.
Steps
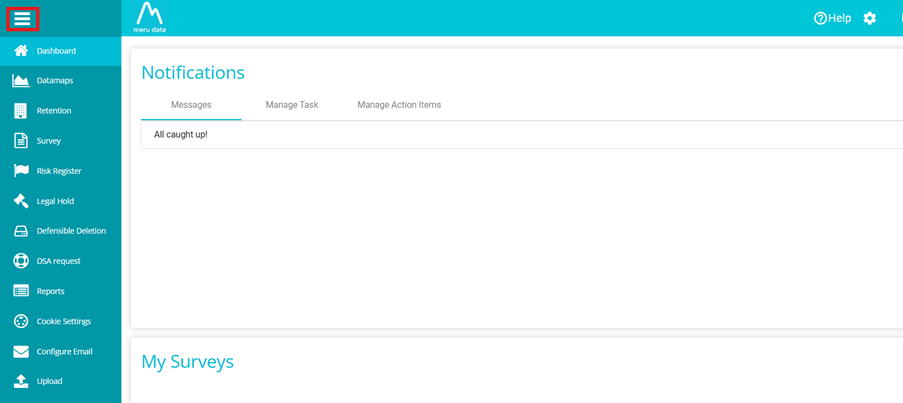
- From the Data Governance Tool dashboard, click the hamburger menu present on the top left corner of the screen.
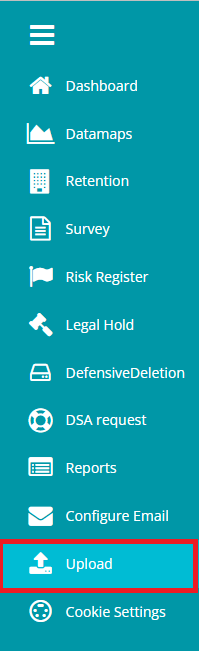
2. From the hamburger Menu, click Upload
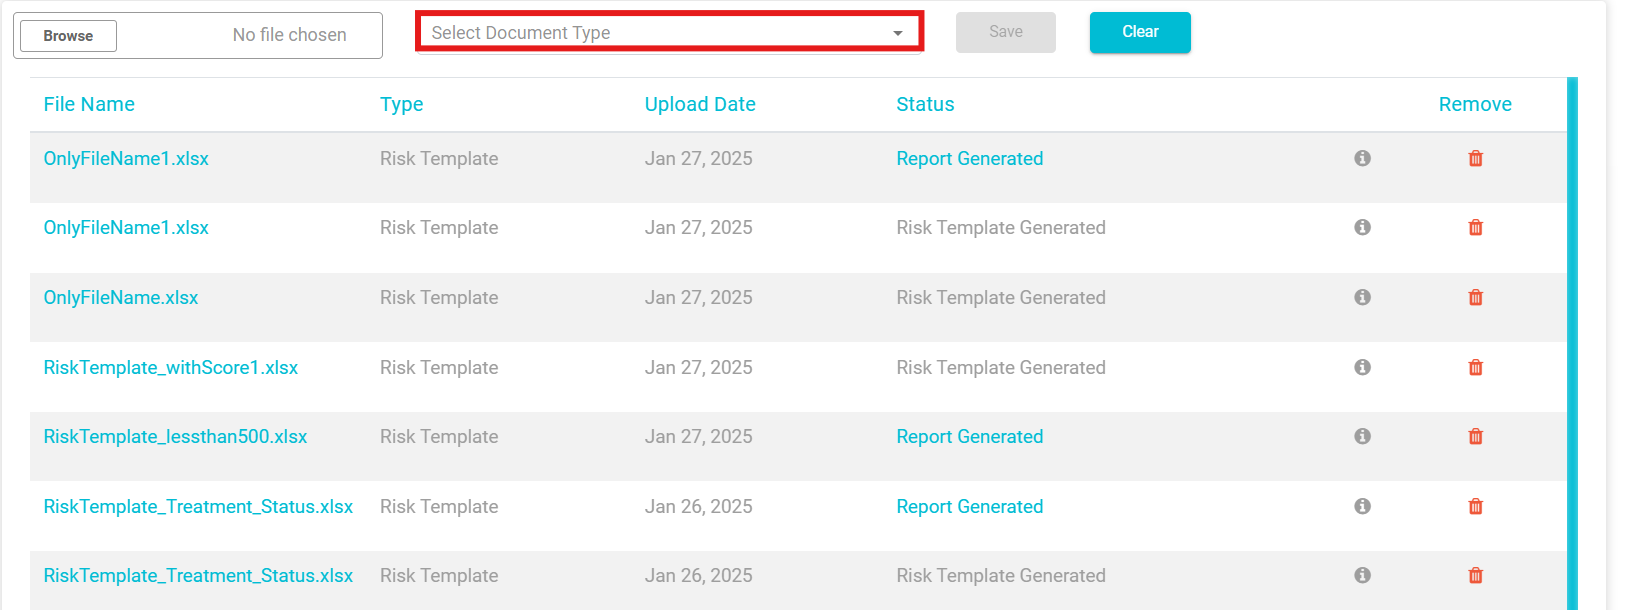
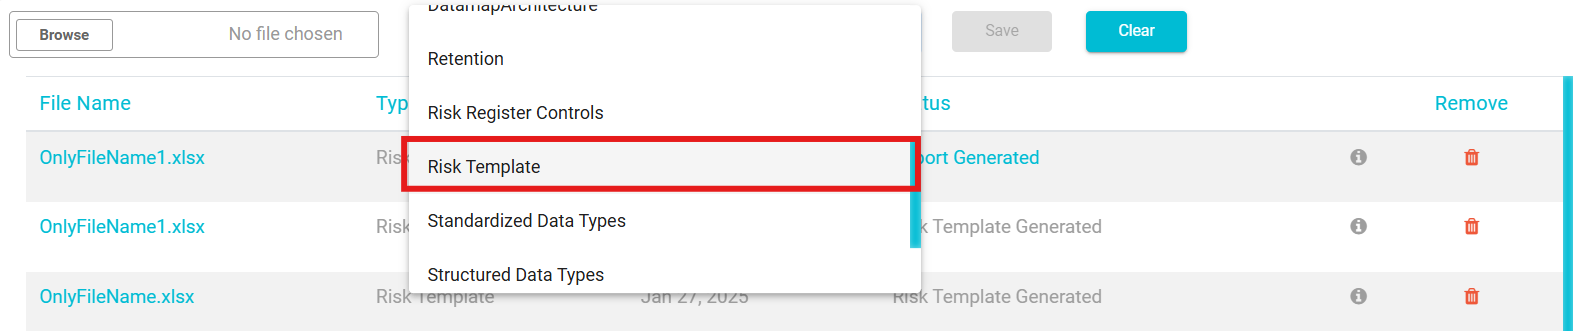
- Once on the Upload page, click on the Select Document Type drop-down
- From the drop-down, select Risk Template.
Once Risk Template has been selected, a Configure Template button will appear on the right of the drop-down.
Click Configure Template

- From the Configure Template page, drag and drop the columns according to the order of your choice. Columns that you wish to exclude from your template can be dragged and dropped to the Exclude Columns area.
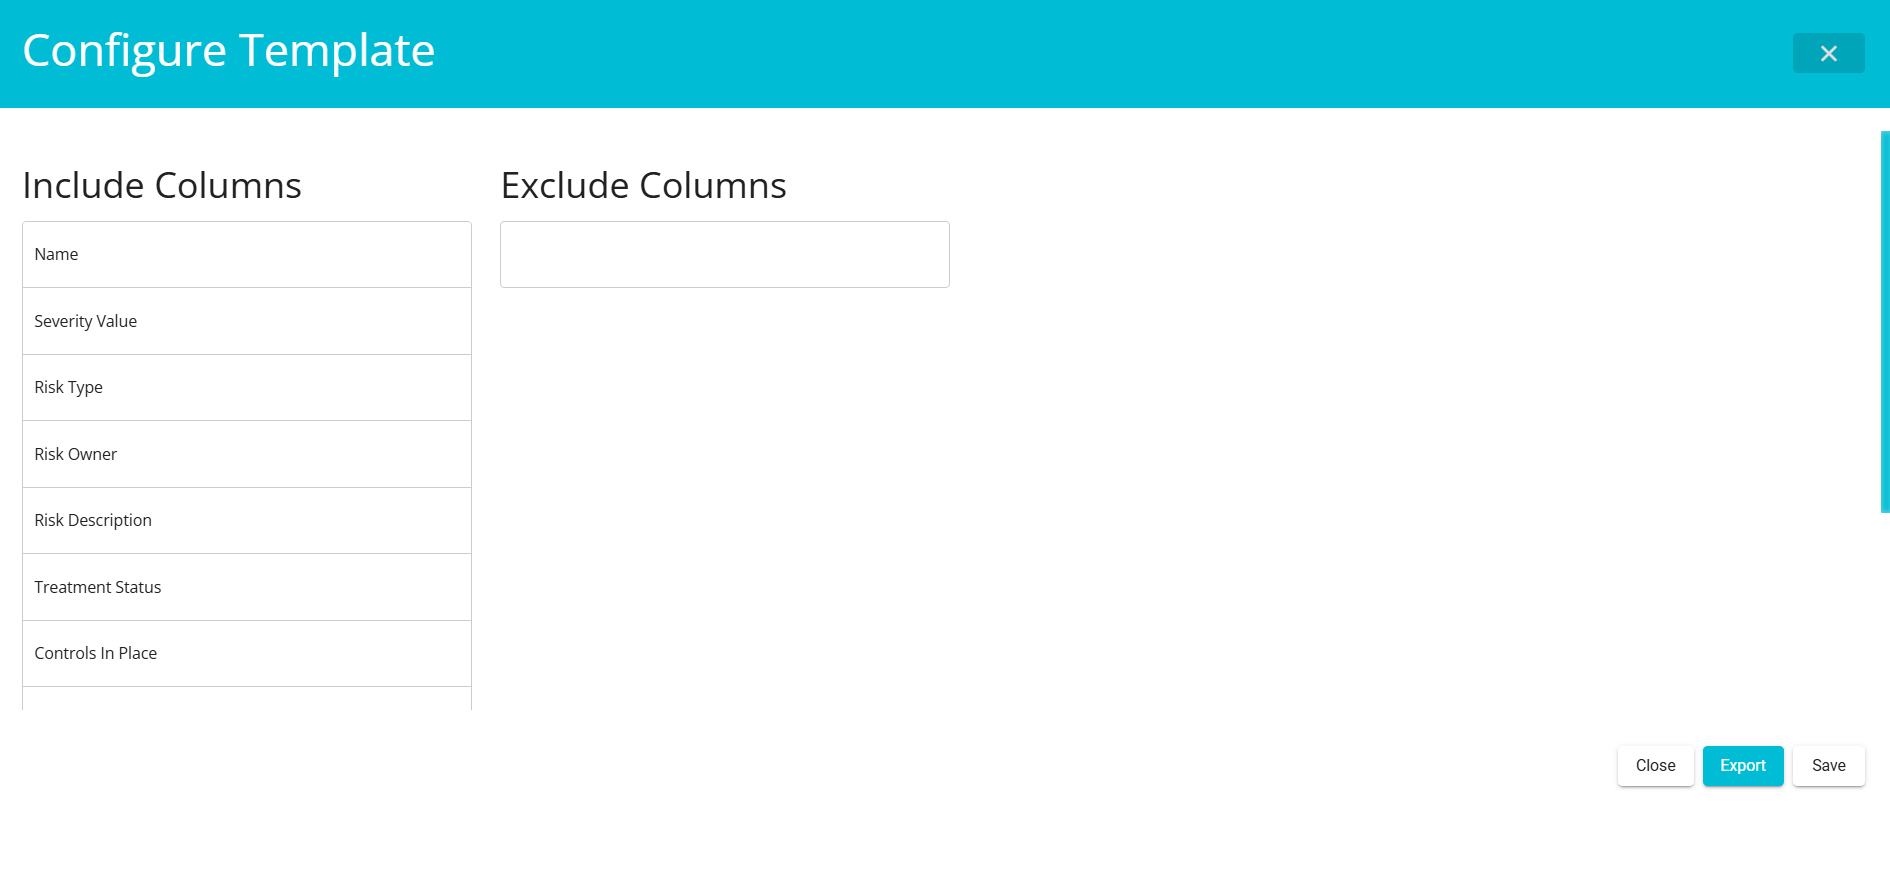
- Click
 to save the template to your device
- Open the template on an Excel sheet on your device and enter the required details under each field.
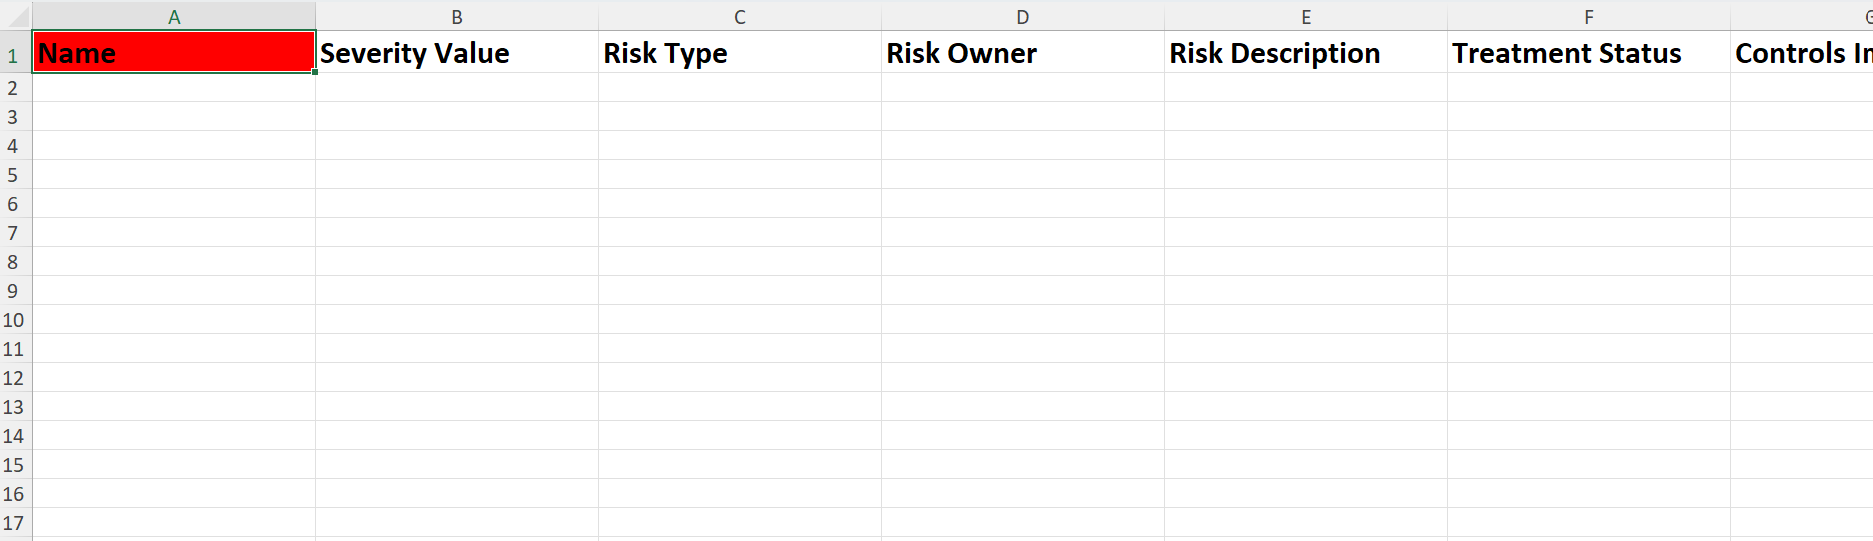
- Save the Excel sheet to your device.

Note: The column highlighted in Red colour is a mandatory field.
On the uploads page on Data Governance Tool, click browse .
Select the Excel sheet from your device and click Open. The Excel sheet title will appear on the Browse tab. While re-uploading the spreadsheet, please ensure there are no spaces in the spreadsheet name.

- Click Save

- The file will get uploaded to the Data Governance Tool. The status of the file at this time will be Uploaded. A web job runs in the backend, which will change the status of the uploaded file. Refresh the page to view the new status

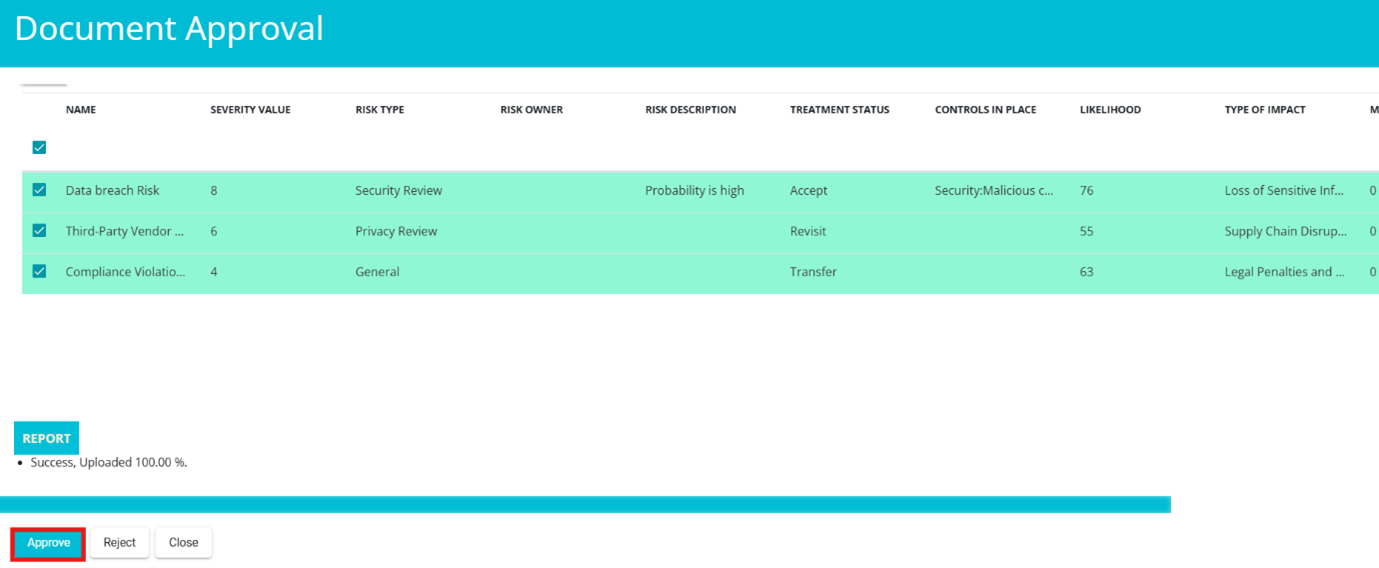
- After the web jobs runs, the status of the file will change to Report Generated.

- Click on Report Generated to view the file and verify that the details are as required. Once the verification is done, click the Approve button present on the bottom left of the screen.
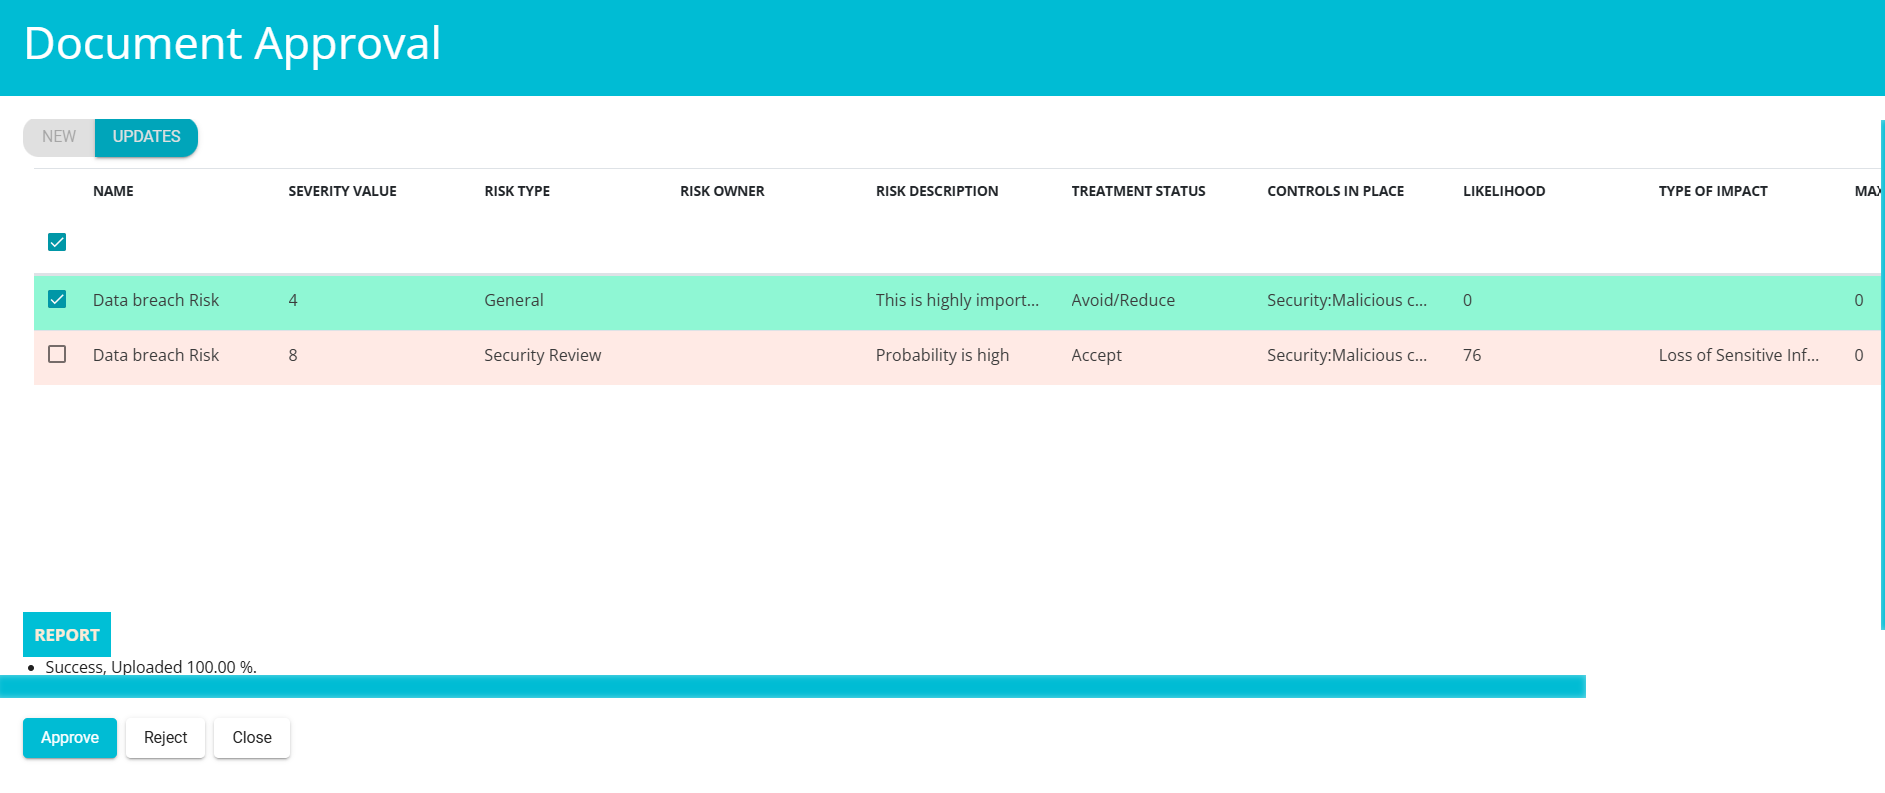
- We can also perform the update operation via the import feature. If the existing name is kept, it will be treated as an update operation. We can view both the existing and new names in the list and confirm which one we would like to approve, as shown below.
- Once you click Approve, the status of the file will change to To be Approved .

and a popup message appears at the bottom of the screen.
![]()
- Once the web job runs, the status of the file will change to Risk Template Generated.

To view the uploaded risk templates, follow these steps:
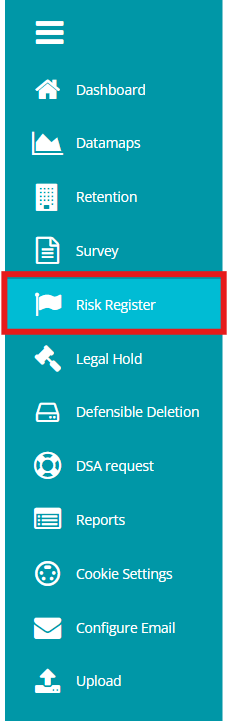
- From the hamburger menu, click on Risk Register.
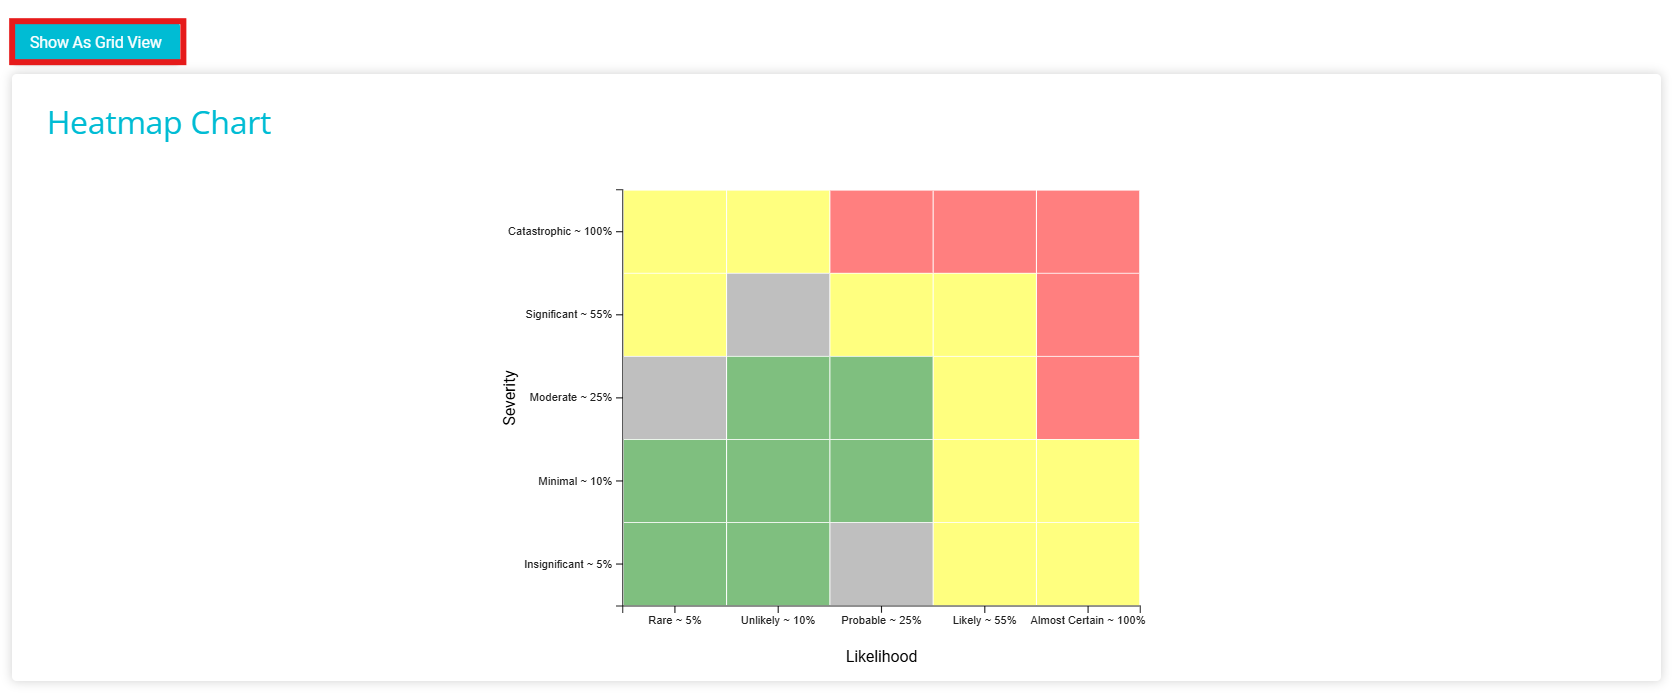
- Click on Show As Grid view.
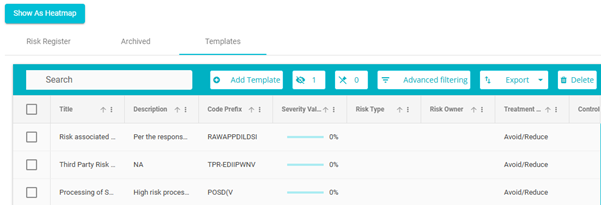
- Click on templates tab to view your uploaded risk templates.
- You can delete the Template by clicking on the Delete Button.
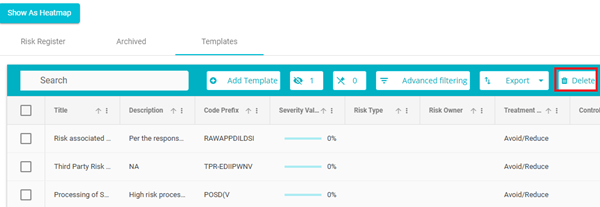
- You can also perform bulk delete by selecting the required templates and clicking on delete button.
